Map Source to Target
This guide will walk you through the process of mapping source to target tags in CryspIQ. You will learn how to perform various actions, including tag mapping and using methods to define values to be loaded into the CryspIQ schema.
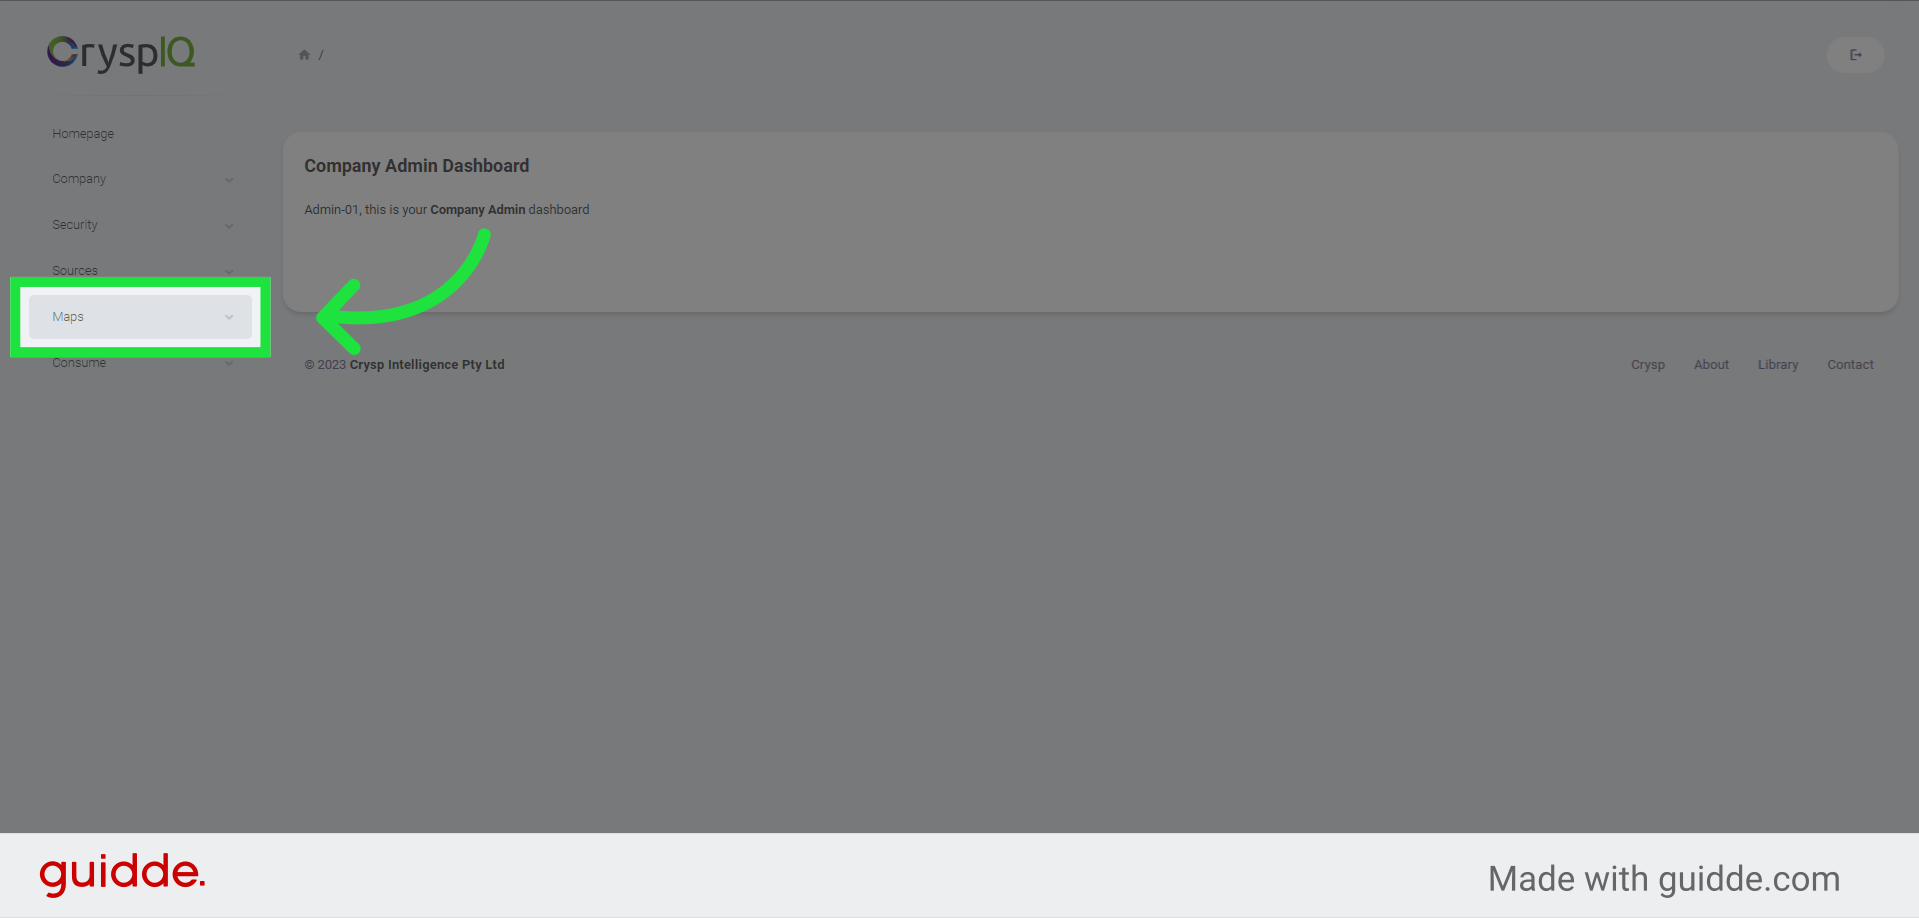
1. Click "Maps"
Start by expanding the Maps menu item
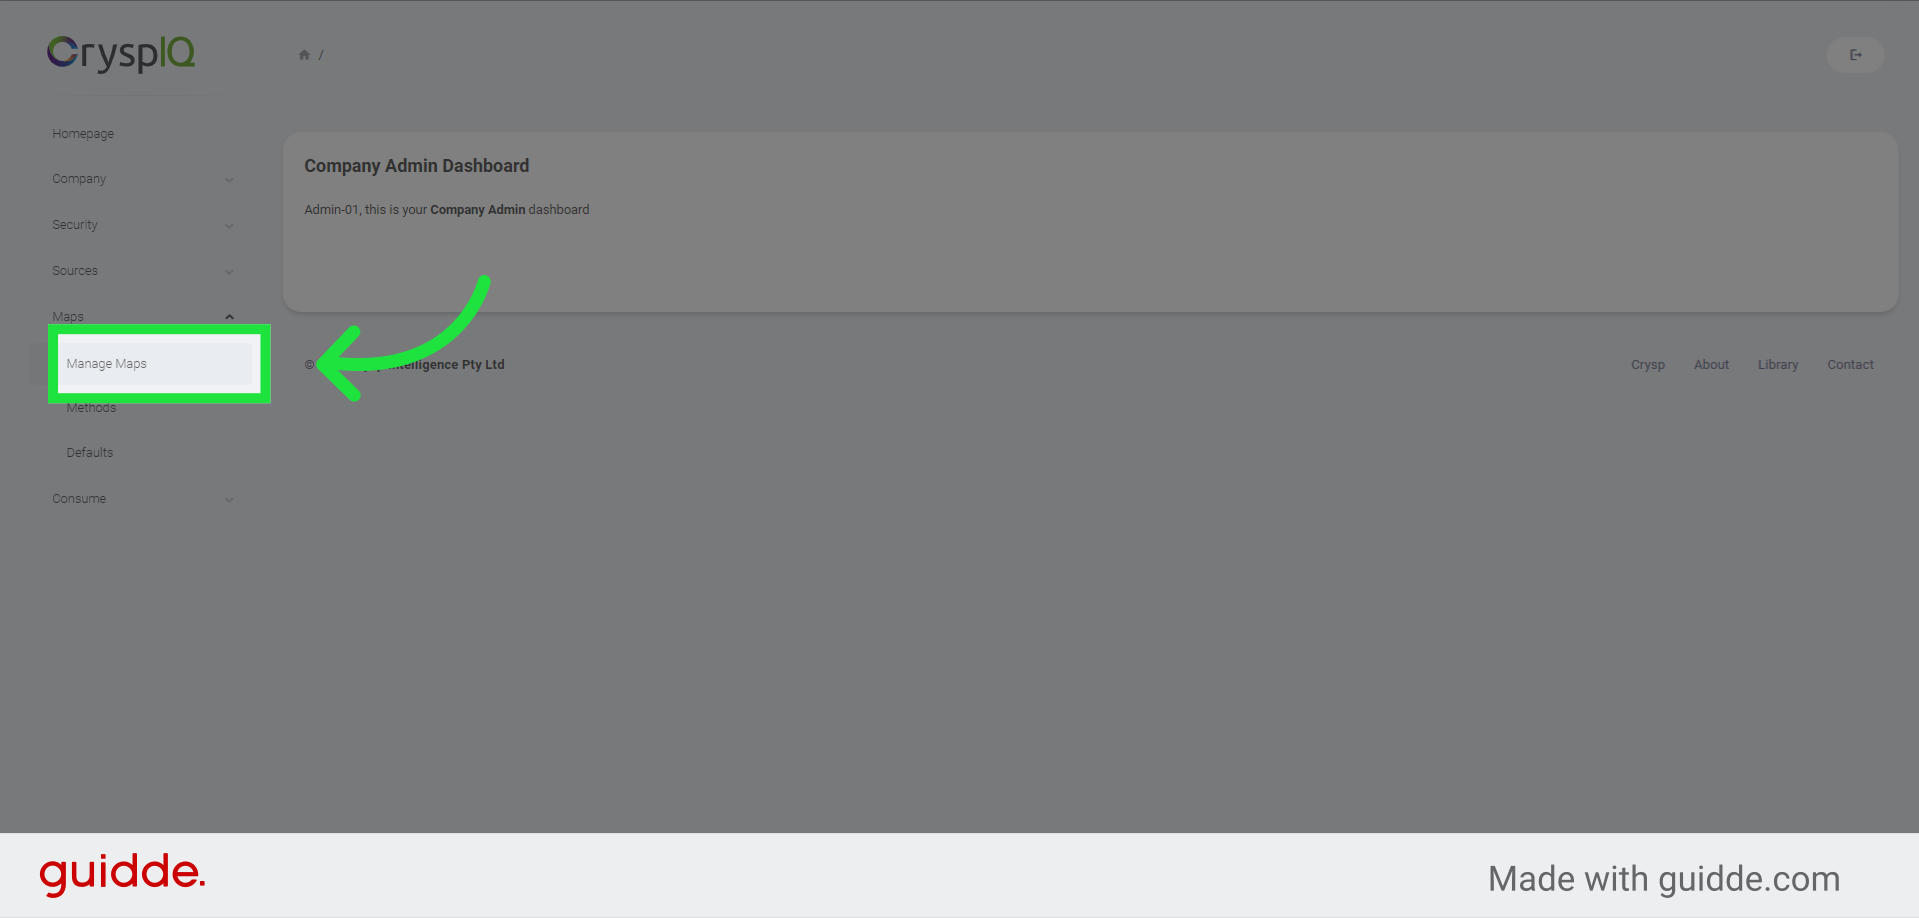
2. Click "Manage Maps"
Then, click on the "Manage Maps" option.
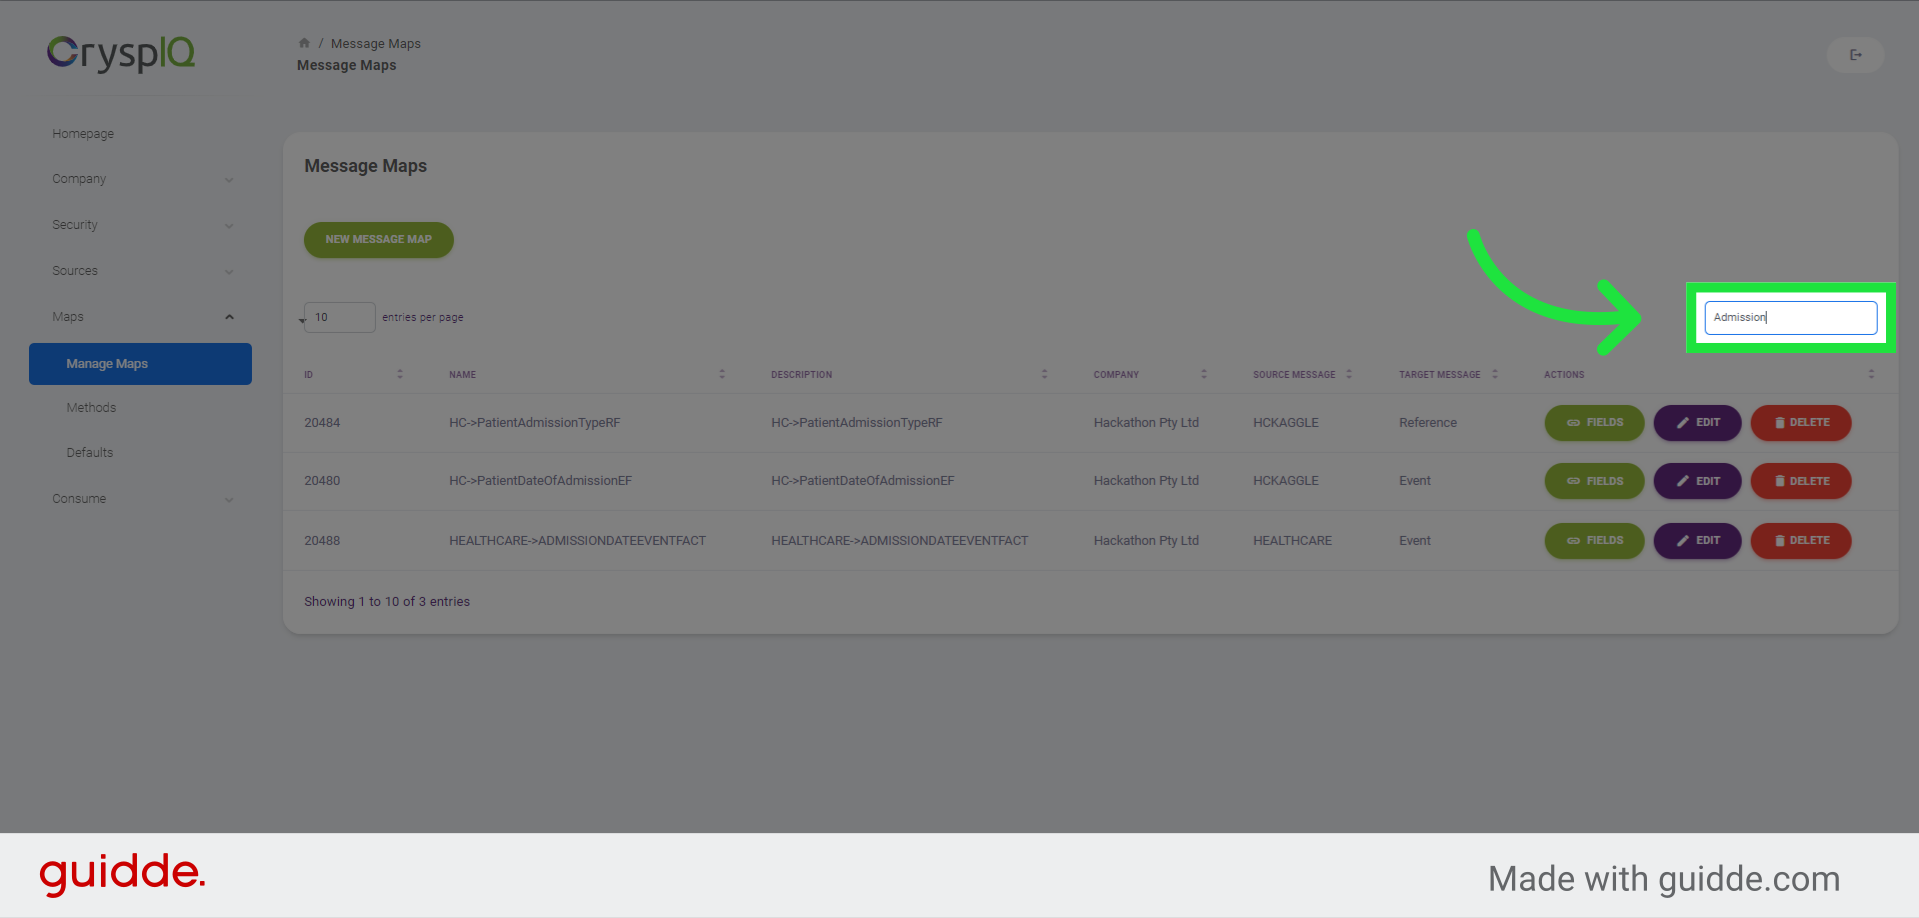
3. Find the Message Map that we are using
Click on the "Search" field to find the Message Map that we will use to define the source to target mapping.

4. Type "Admission"
Enter "Admission" in the search text to find the Message Map for the Healthcare Data's Admission Date Message Map.
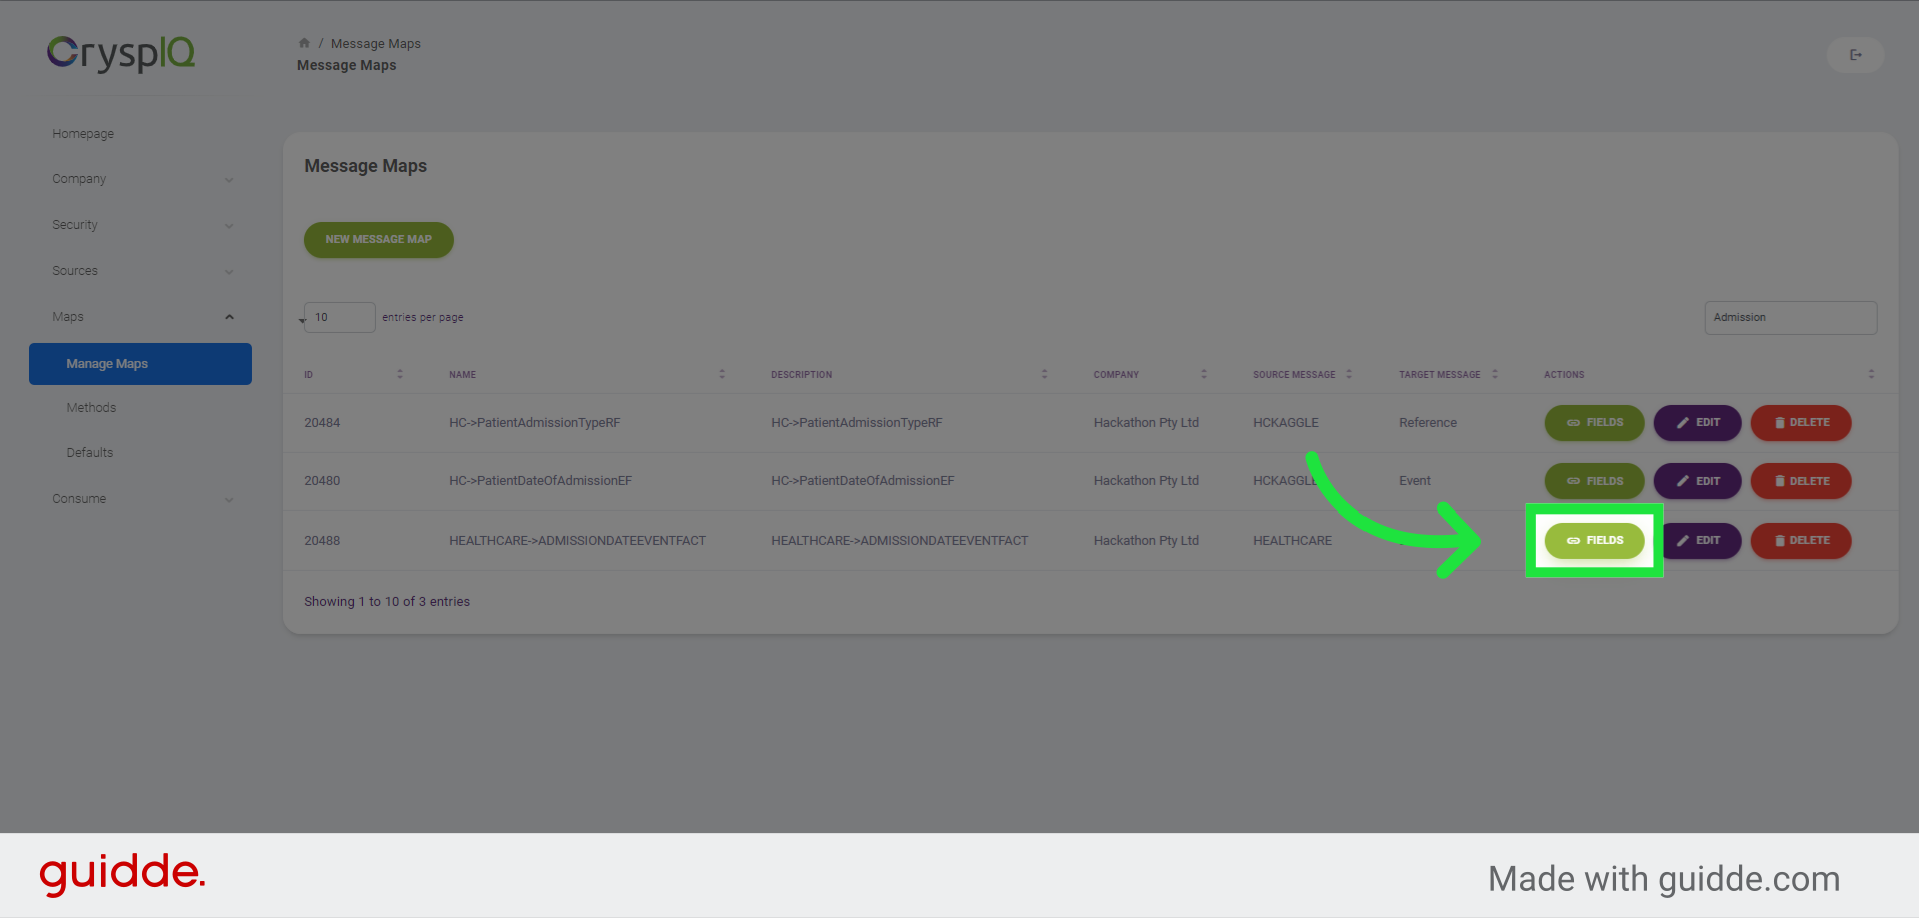
5. Click "Link Fields"
Now click on "Link�fields" to start mapping fields
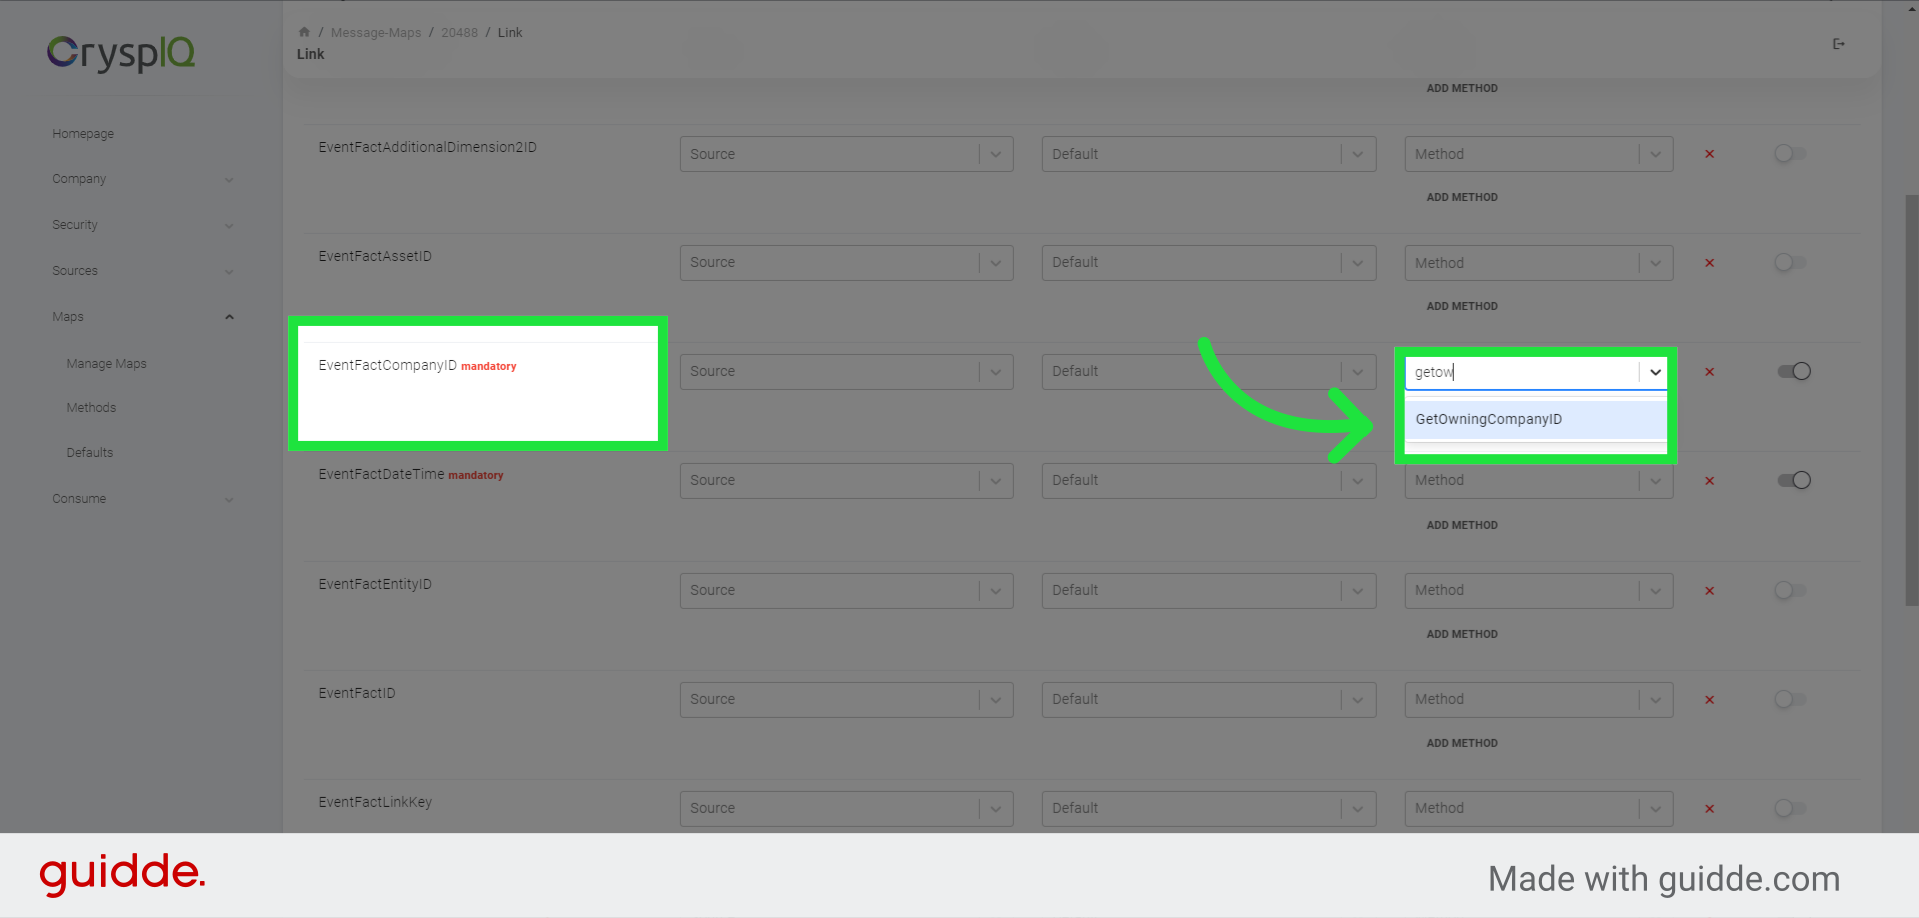
6. Map Owning Company
Start by Finding the Target Tag, "EventFactCompanyID", in the Target column on this page. We will use a method called "GetOwningCompany" as the value for this tag. To map the method to the Target tag, select "GetOwingCompany" from the dropdown list in the "Method" column.
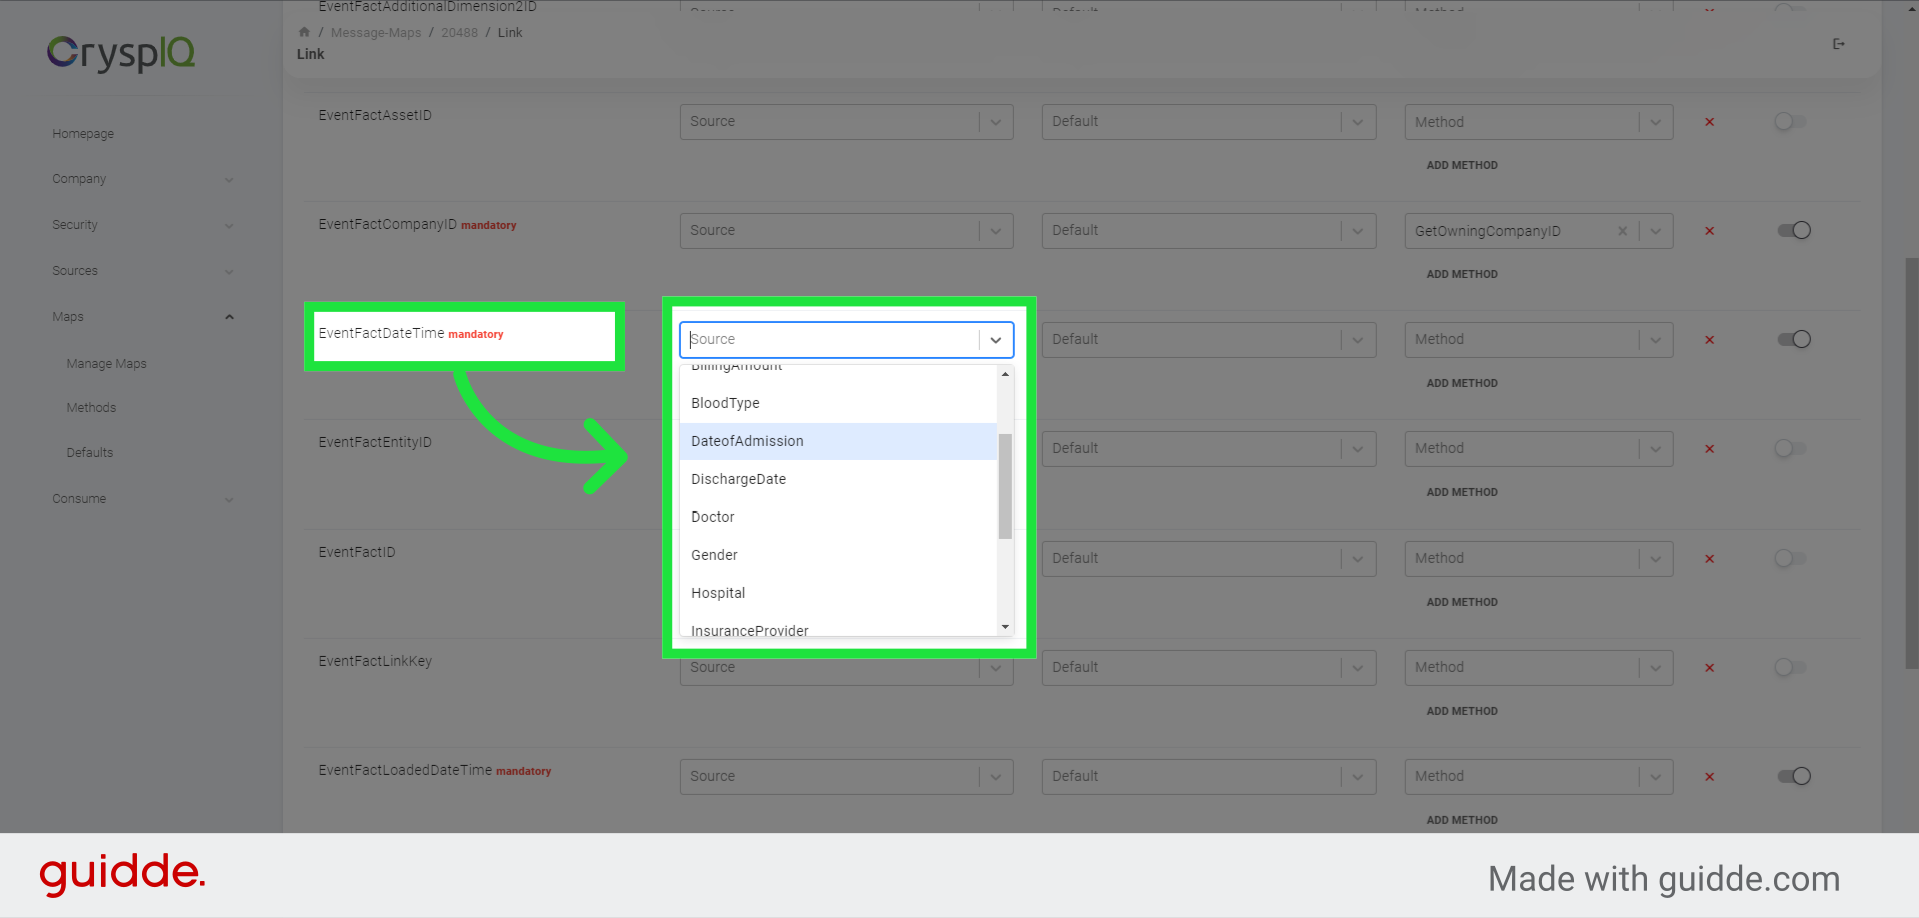
7. Map Event Fact Date and Time
In this example, we are mapping date data from the healthcare dataset into the Event Fact, Target type. We thus need to create a source to target mapping for the mandatory target field called "EventFactDateTime". We will map the "Admission Date", in our source data to the "EventFactDateTime" Target tag, by selecting the "DateofAdmission" value from the dropdown in the "Source" column.
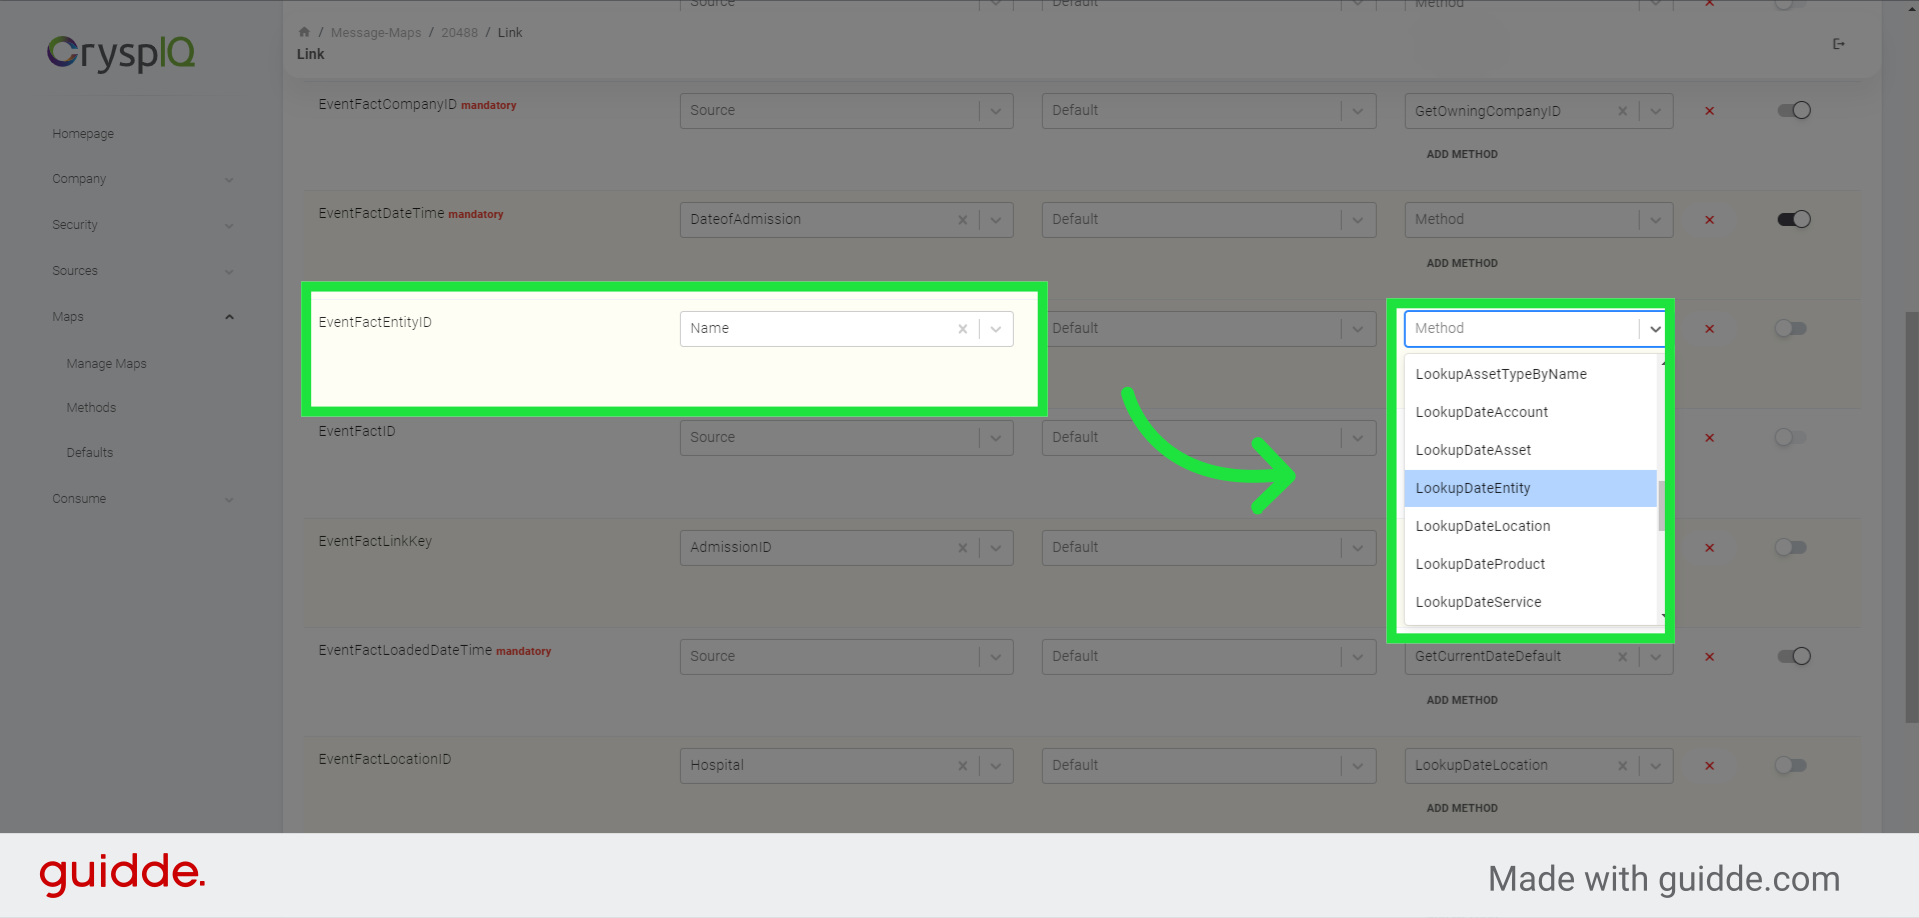
8. Select Name from Source, then select "LookupDateEntity" Method
Now we will add a mapping to a person entity by firstly selecting the "Name" from the source column, and then the "LookupDateEntity" from the method column. The method "LookupDateEntity" will find a person entity based on "Name" tag in the source data in the Entity dimension for the date specified in the EventFactDateTime, which is the Admission Date.
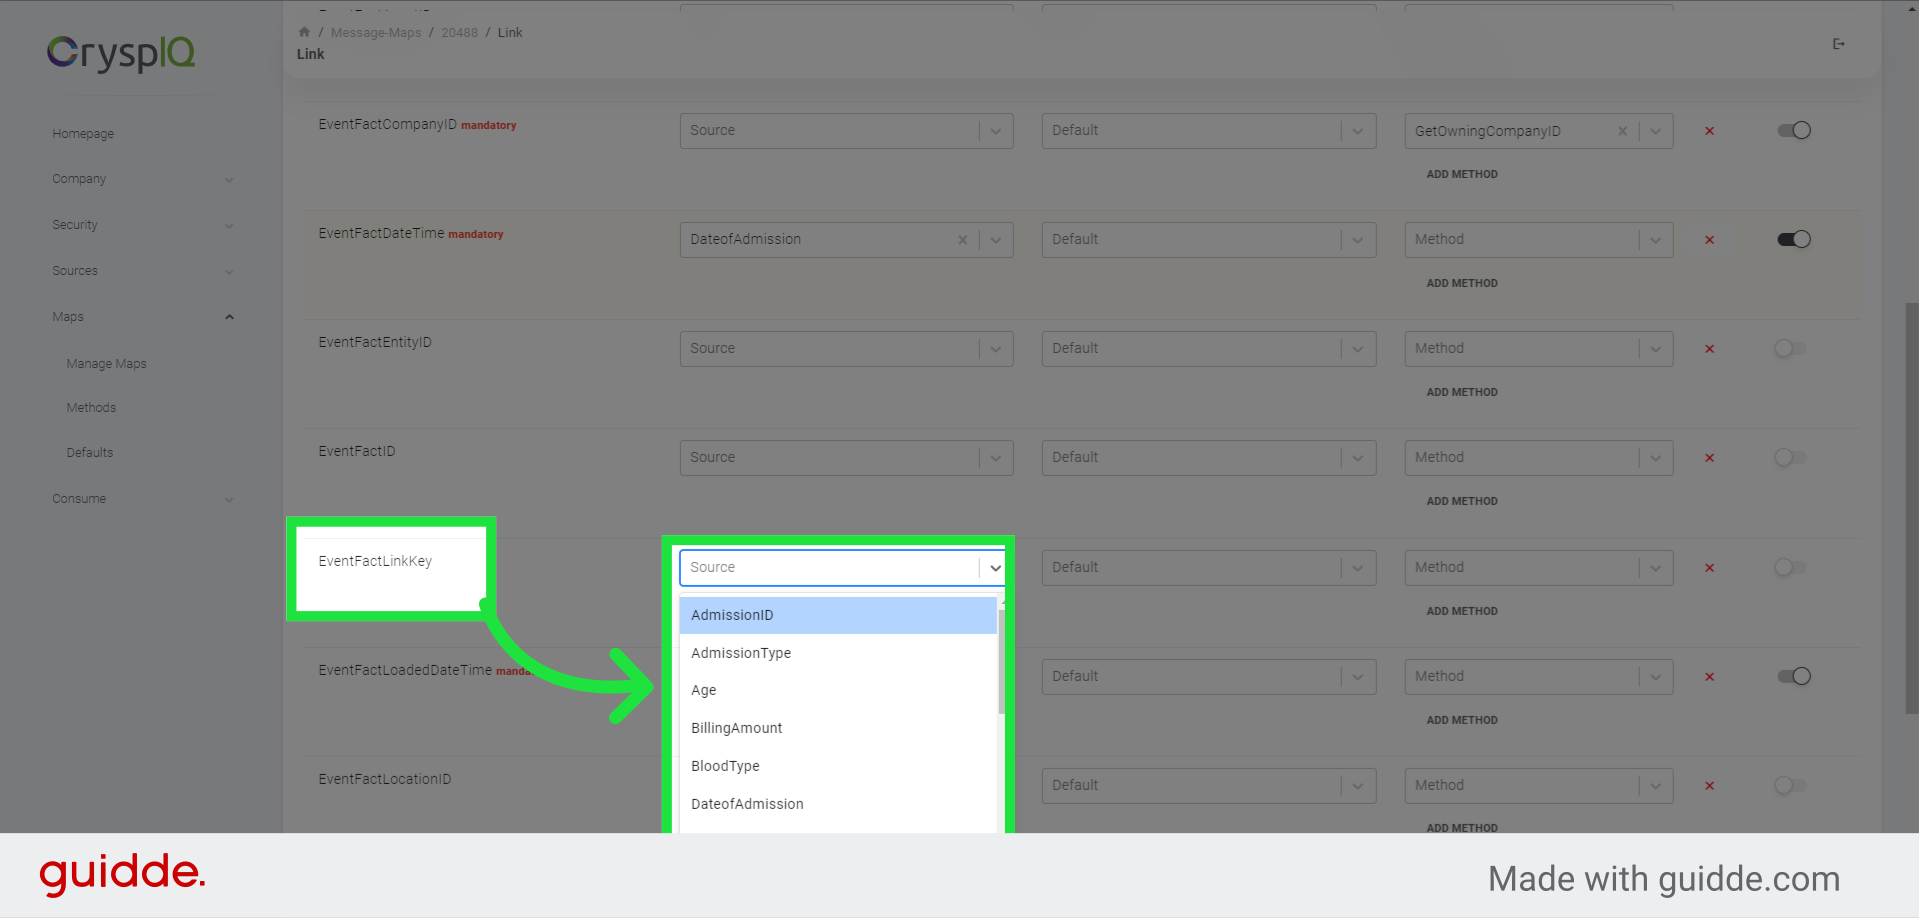
9. Select "AdmissionID"
Define the primary key for the record in the source data. In our example, each admission were recorded with a unique admission number. We will thus select "AdmissionID" from the dropdown list in the source column, against the "EventFactLinkKey" Target Tag row. The Link key, is the tag that CryspIQ uses to store the unique key for mapped data.
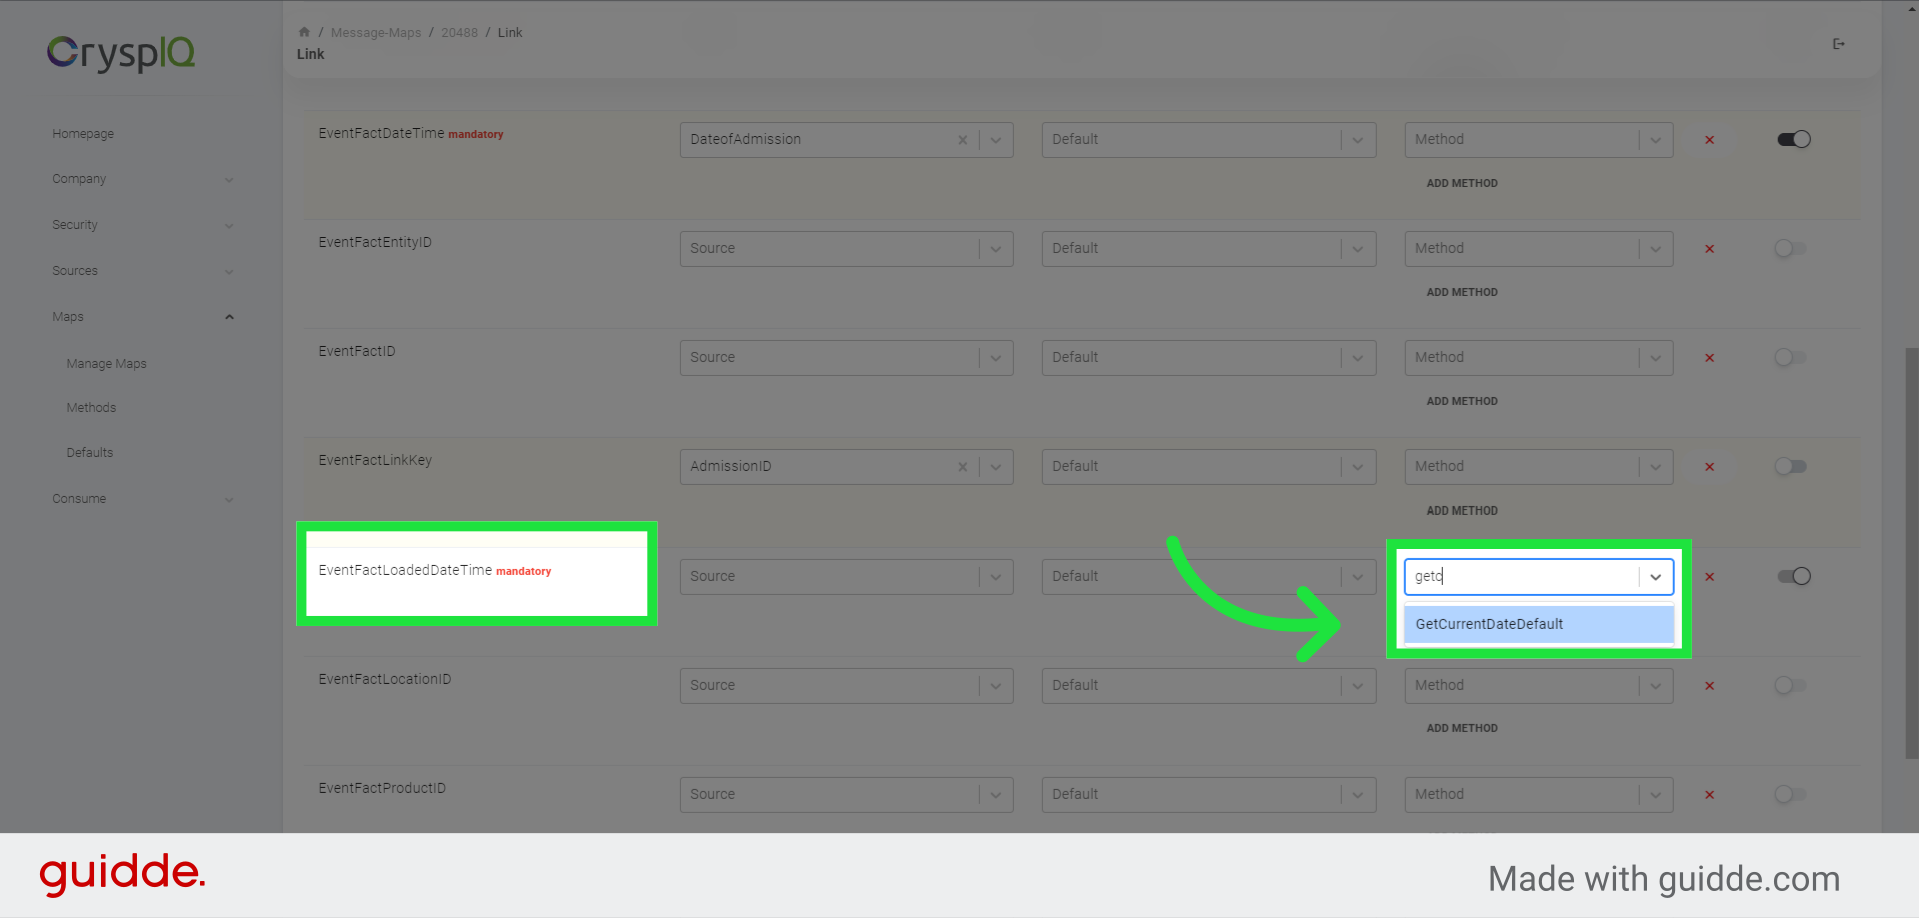
10. Map the date and time of data load
In this example, we have another mandatory target field called "EventFactLoadedDateTime". This field is important as it stores the date and time of each data record loaded in CryspIQ. To map this field, select the Method called "GetCurrentDateDefault", which will load the value of the date and time when each data record is loaded.
11. Select "Hospital"
For this event, each patient is admitted to a Hospital. The Hospitals were loaded in a separate Message Map into the Location Dimension. We can use the "LookupDateLocation " method to find the Location for the hospital in CryspIQ. In order to do this, select the "Hospital" tag from the source column, then we'll select the method to perform the lookup, from the Location dimension.

12. Use a method to look up the Location
Now select the "LookupDateLocation" item from the dropdown list in the Method column.

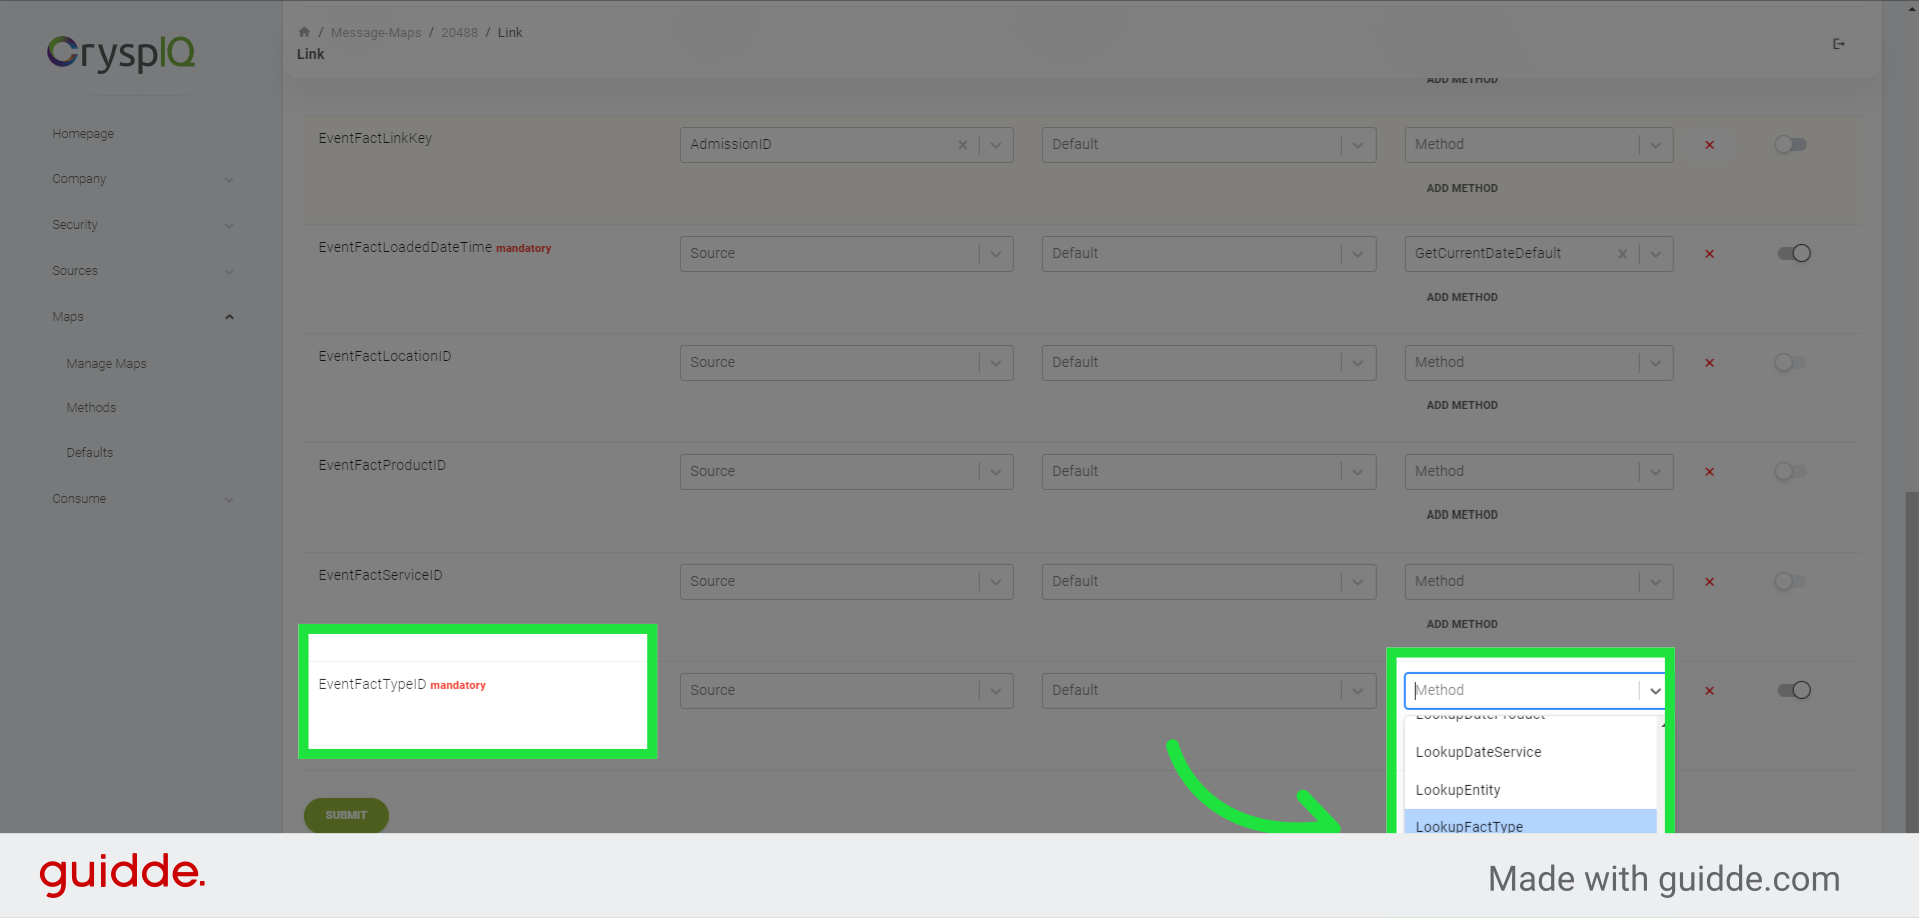
13. Map the Identity of the Message Map
To link the Identity of the Message Map to the "EventFactTypeID", select the "LookupFactType" item from the dropdown in the Method column.
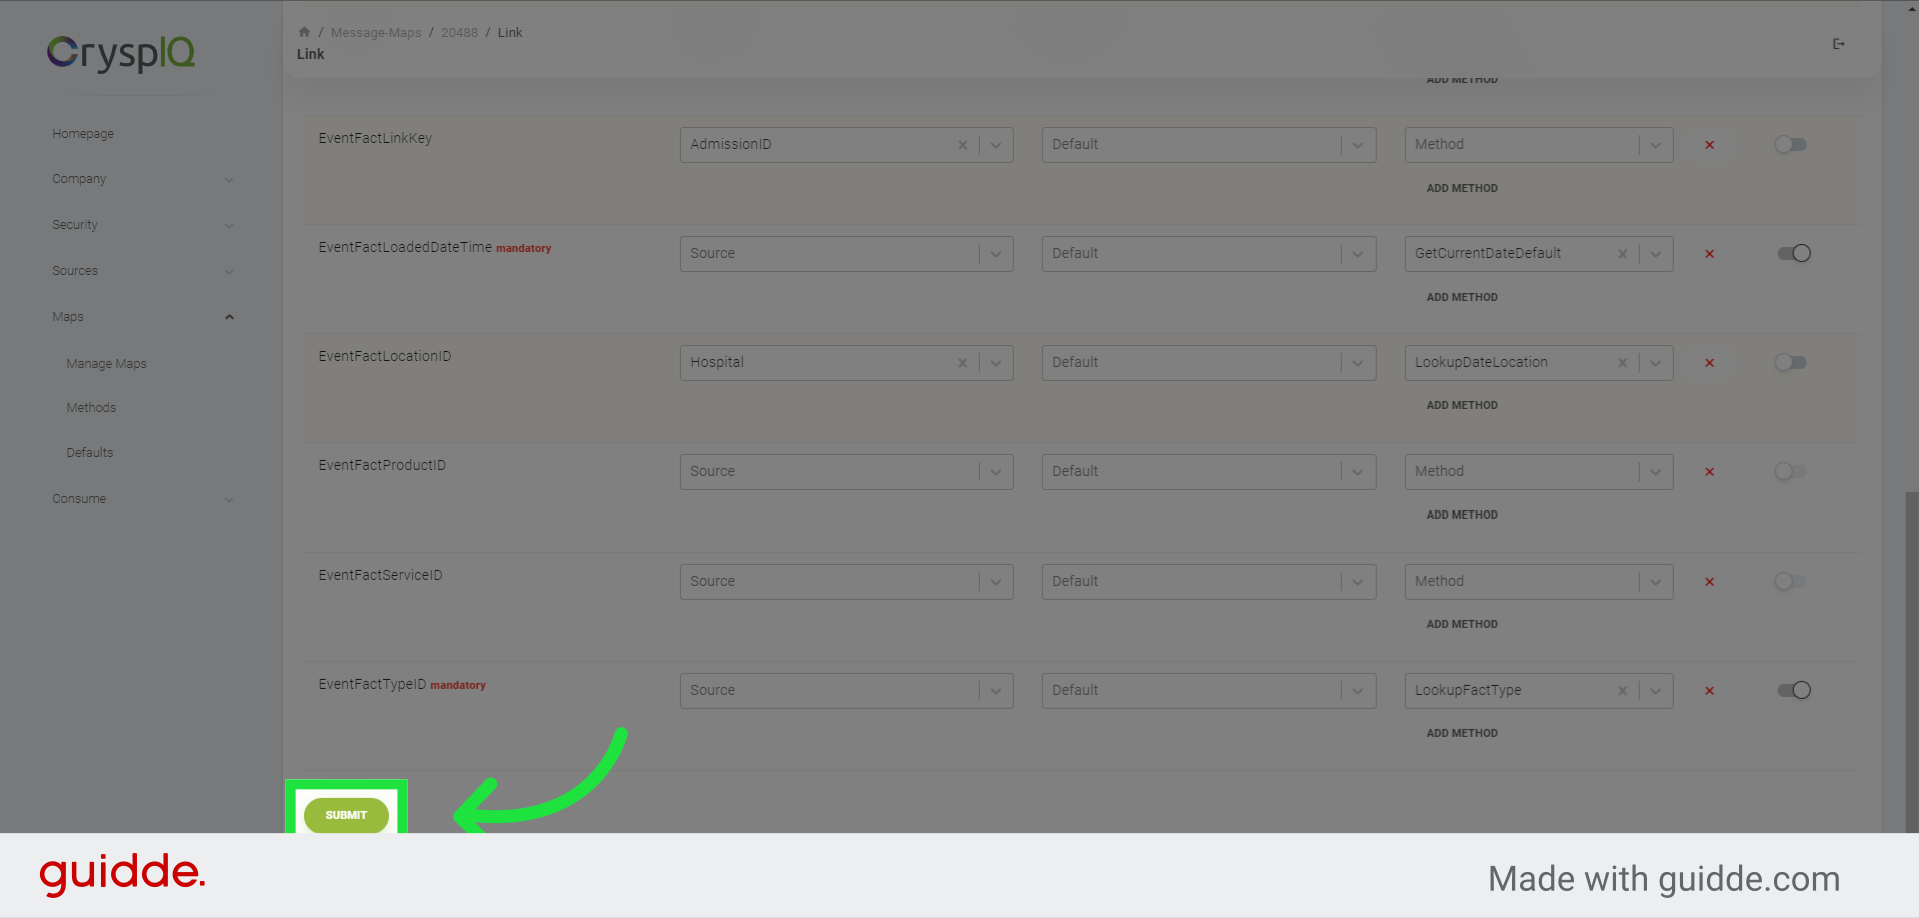
14. Create the new source to target mapping definition
Finally, click on the "Submit" button to save the source to target mapping. Repeat this process for each Fact and Dimension you'd like to store in CryspIQ.
This guide covered the steps to map source to target in the Crysp IQ application. You learned how to click on buttons, fill fields, and perform other actions to complete the mapping process.